How to use AutoBackup cPanel plugin
Skriv ut- 0
AutoBackup is a cPanel plugin that allows customers with Stellar Plus and Stellar Business Hosting to retrieve a full cPanel backup (all account files, databases, email accounts, and settings) right away. Moreover, several backup snapshots are stored in our storage so you have a choice of which backup to use. However, only one restoration at a time is allowed. It is not possible to perform several restorations simultaneously.
NOTE: The plugin allows accessing server backups - it is not possible to upload your own backup files there.
AutoBackup Tool Overview
Per-File Restoration
Database restoration
AutoBackup Tool Overview
In order to locate the backup plugin, navigate to the cPanel >> the Exclusive for Namecheap Customers section >> AutoBackup: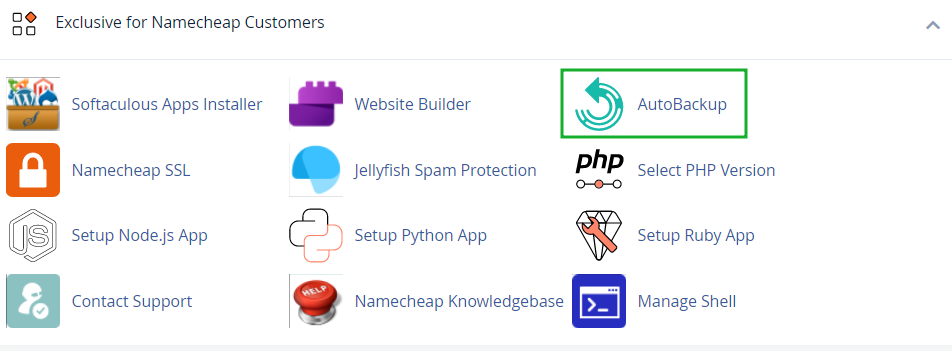
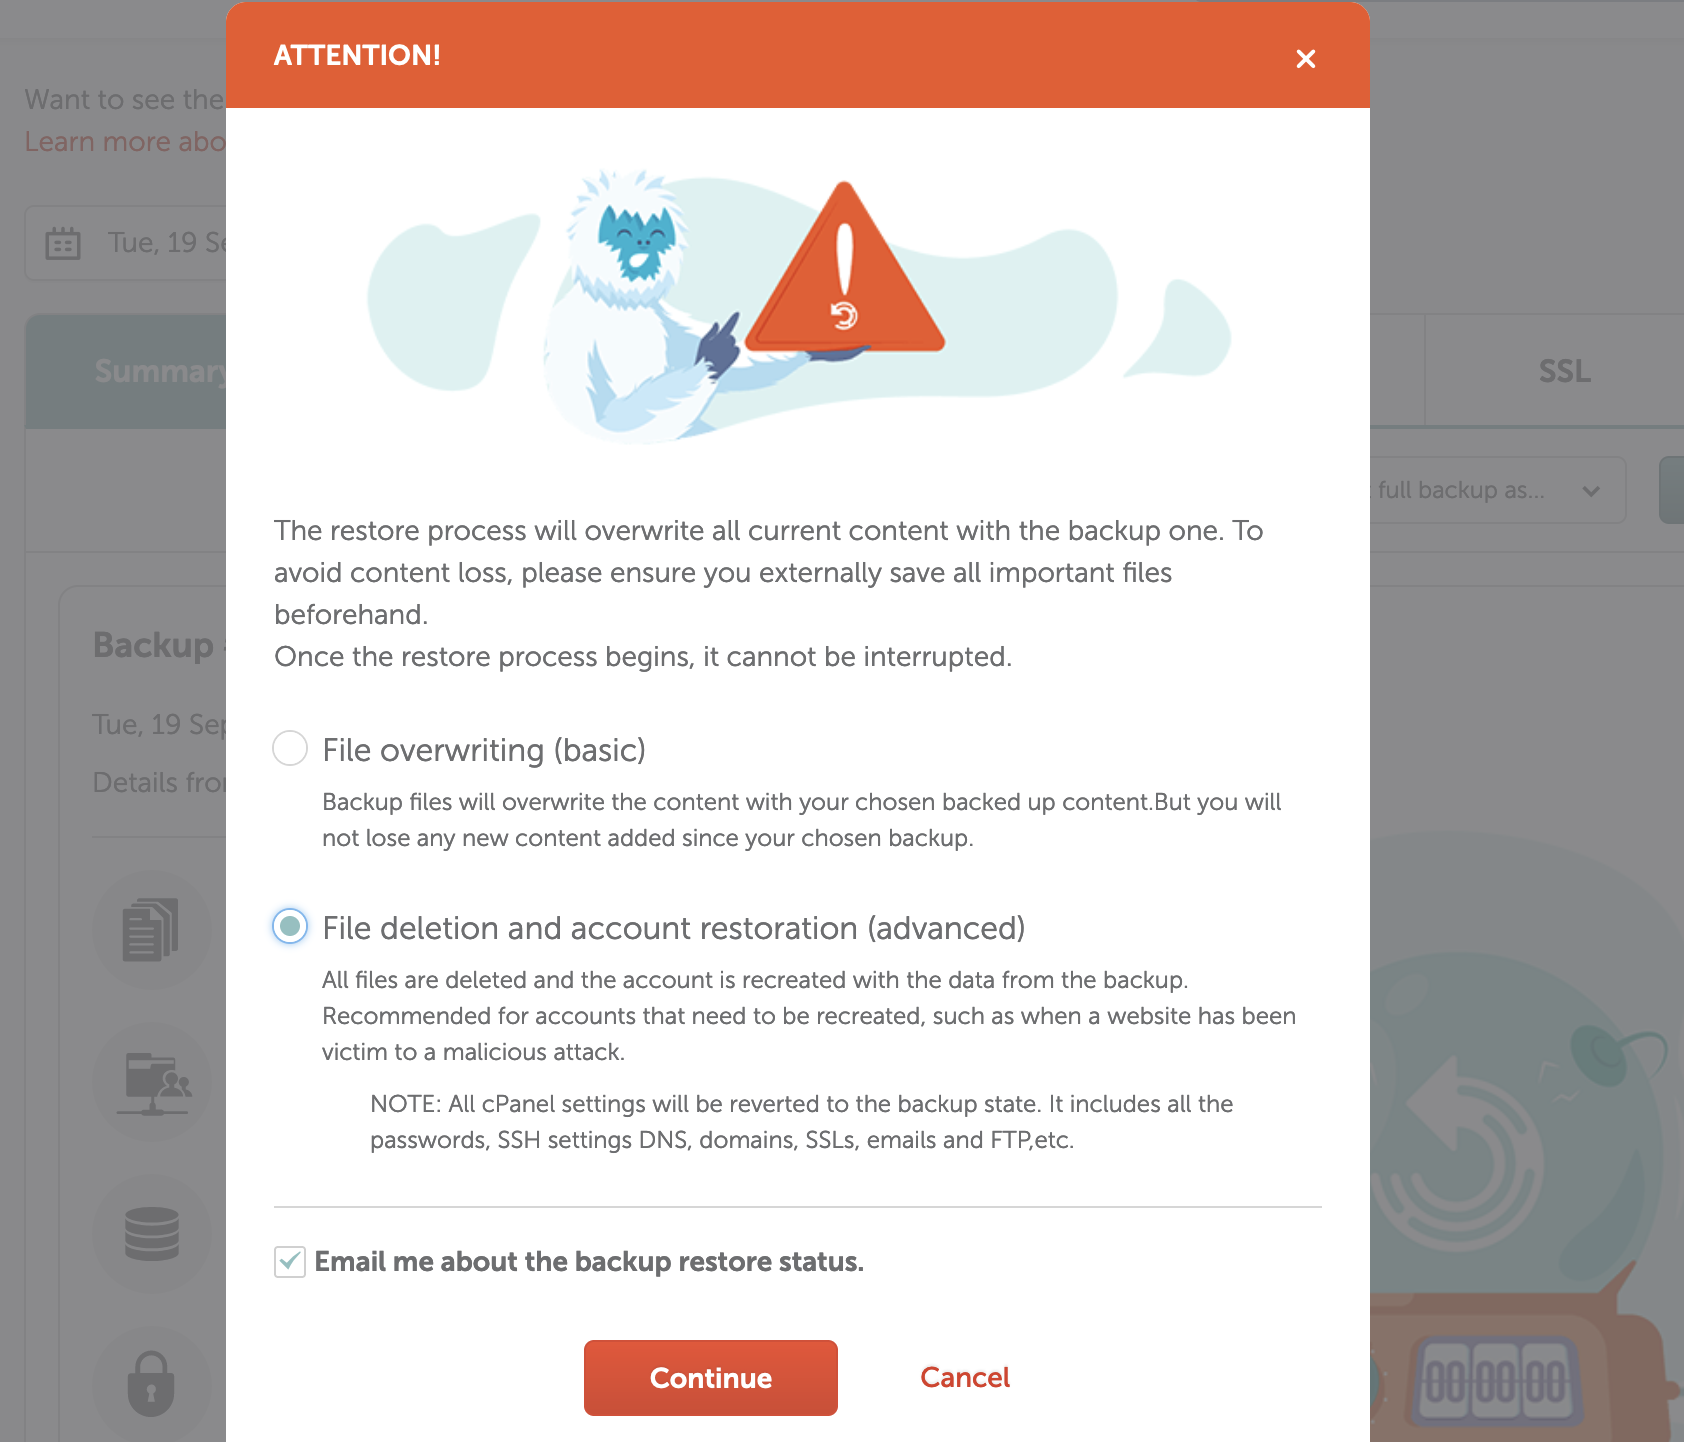
- File overwriting (Basic) - backup files will overwrite the content with your chosen backed up content. But you will not lose any new content added since your chosen backup.
- Full deletion and account restoration (advanced) - all files will be deleted and will be recreated with the data from the backup. This option is recommended for accounts that need to be recreated, such as when a website has been victim to a malicious attack.
NOTE: during the restoration process, you will be logged out of cPanel.
After the successful backup restoration, you will get the corresponding message:
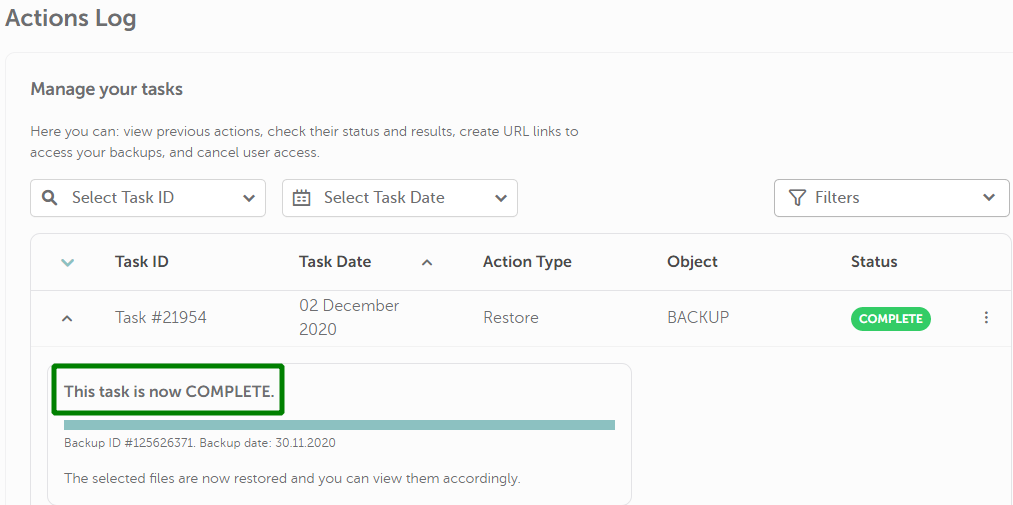
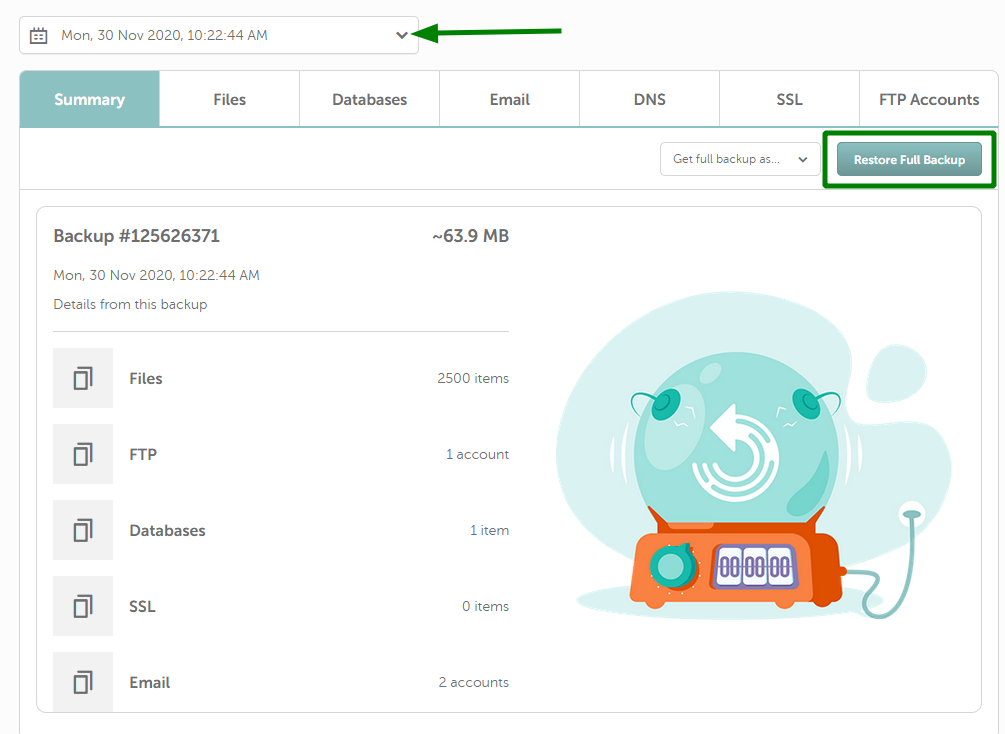
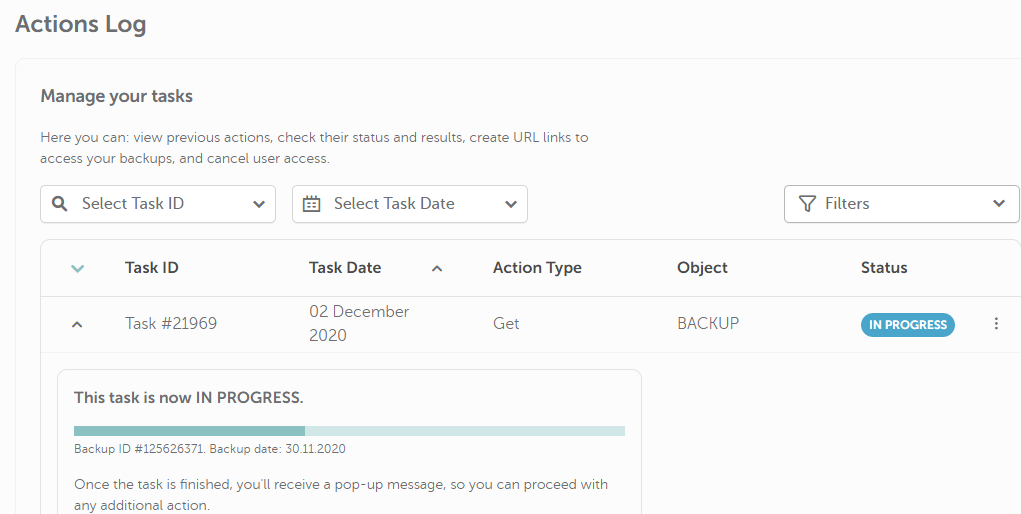
If you wish to see the details of all the backups, click on the drop-down menu to expand the list of backups.
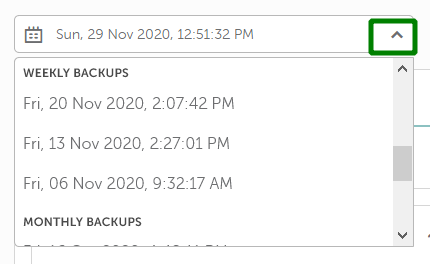
These backups are created on the server side according to the following schema:
- 6 daily backups
- 3 weekly backups
- 5 monthly backups
PLEASE NOTE: You will be able to see these backups as they are created. If your account was created recently, there may either be no backups available or only daily backups.
It is not possible to force backup creation using AutoBackup. If you need to generate a backup immediately, you can use the Backup cPanel menu.
If the backup file is more than 1 GB, it may take some time to be generated. In case the generation process has stuck, please contact our Support Team in order we could check the matter for you.
PLEASE NOTE: Backups are available for download for 15 days after retrieval.
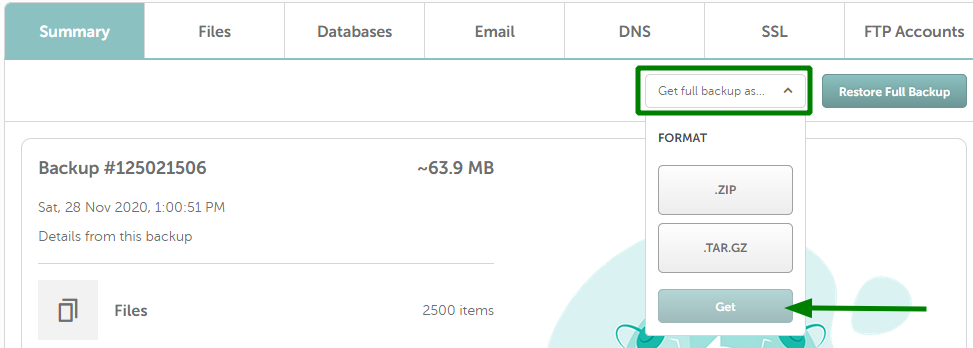
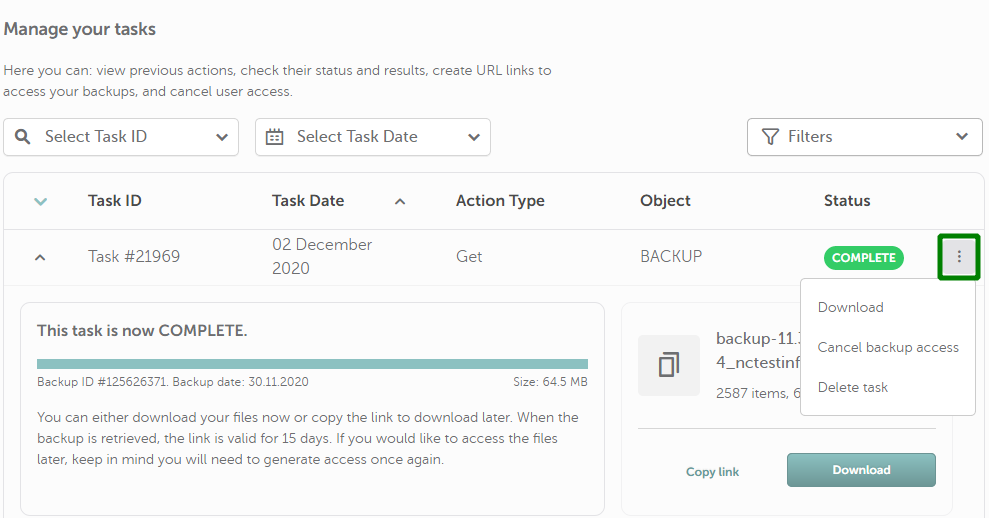
As soon as the backup is generated, you will be able to see the Backup Size. The following Actions are available in the backup drop-down menu:
- Download the backup
- Cancel backup access for download
- Delete task will delete this task
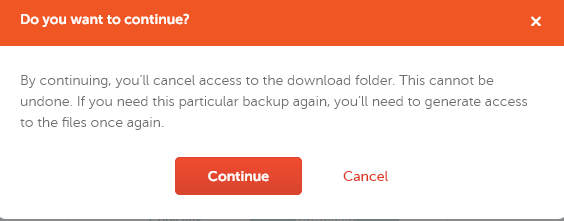
For your increased security, you can cancel download access at any time using the Cancel backup access option. The confirmation pop-up will be shown:
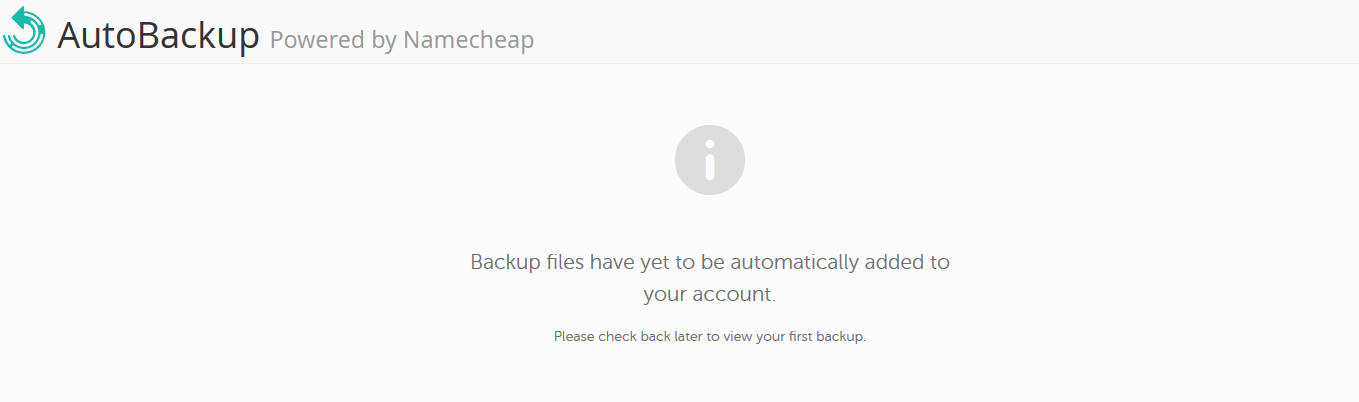
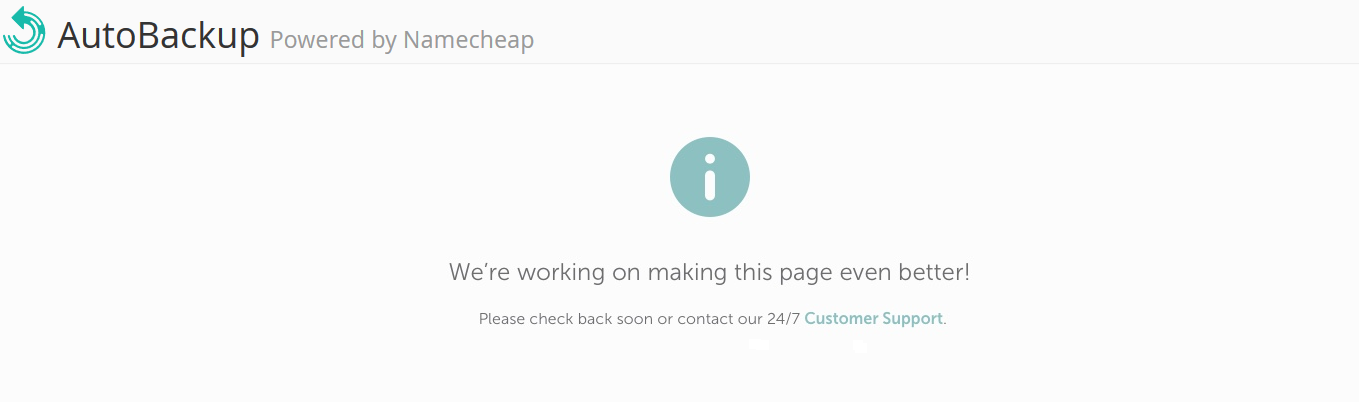
If you see the following message after accessing the plugin, just try checking it later or contact our Support Team to get more details:
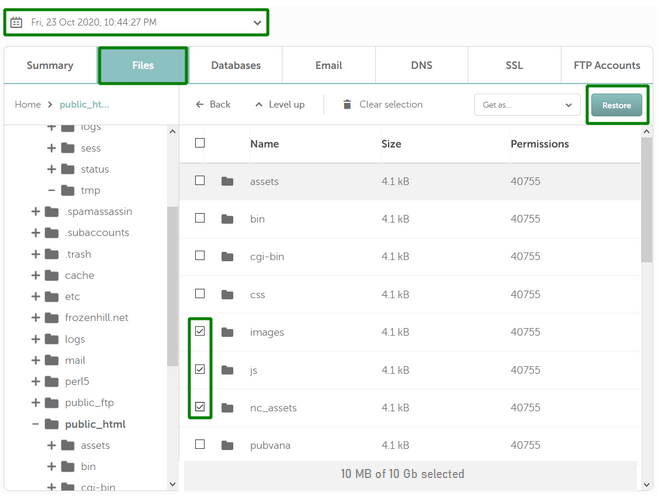
Per-File Restoration
1. Choose the date of the needed backup.
2. Switch to the Files tab in the navigation bar.
3. Check the files/folders to be restored. You will see the total size of the files you're going to restore.
4. Click Restore:
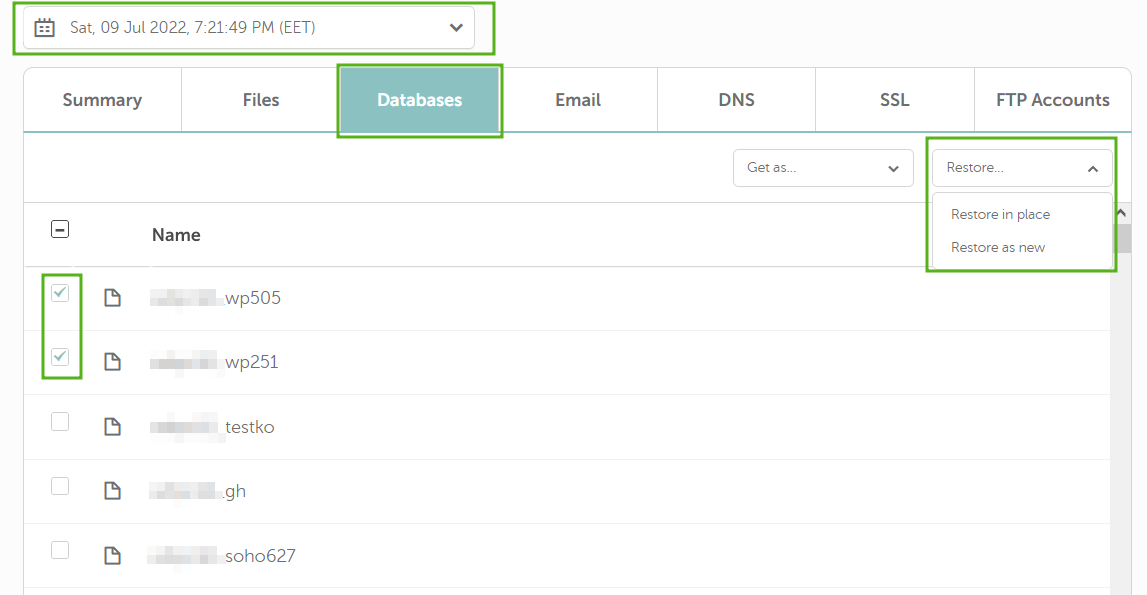
Database restoration
- Choose the date of the needed backup.
- Switch to the Databases tab in the navigation bar.
- Check the database file to be restored.
- Choose the necessary restoration option "Restore in place" or "Restore as new":
That’s it!